a fairly common challenge for every ukulele player is a string change. i won’t elaborate on choice of strings which is a whole different story, esp considering that every single ukulele has its own “perfect” strings – in this post i will concentrate on string fixing only. this is how i do it, feel free to add your method in the comments.
tuning pegs
pretty easy and straightforward for me: i never used any real knot at the tuning pegs. one or two (for the thin string) rounds around the peg and through the hole were always sufficient, the rest is done purely by friction and tension of the string itself. i don’t even need some “over and under” winding, just looping through the peghole and winding down (!) does the job. “down” means: you want to have the steepest angle possible from nut to peg, i.e. the pegside end of the string should be as close to the headstock as possible.
additionally it seems worth mentioning that string windings on the peg should not overlap as this could lead to snapping strings (when a string pinches itself). believe it or try it: 3-4 rounds around the peg create enough friction to hold the string in place. pull the string hand tight, make your rounds through the peg hole and tune up to pitch (or a full note above for a few days to settle a bit quicker – no manual pre-stretching please).
bridge
i won’t cover pin bridges, simply because i don’t have any experience with those yet.
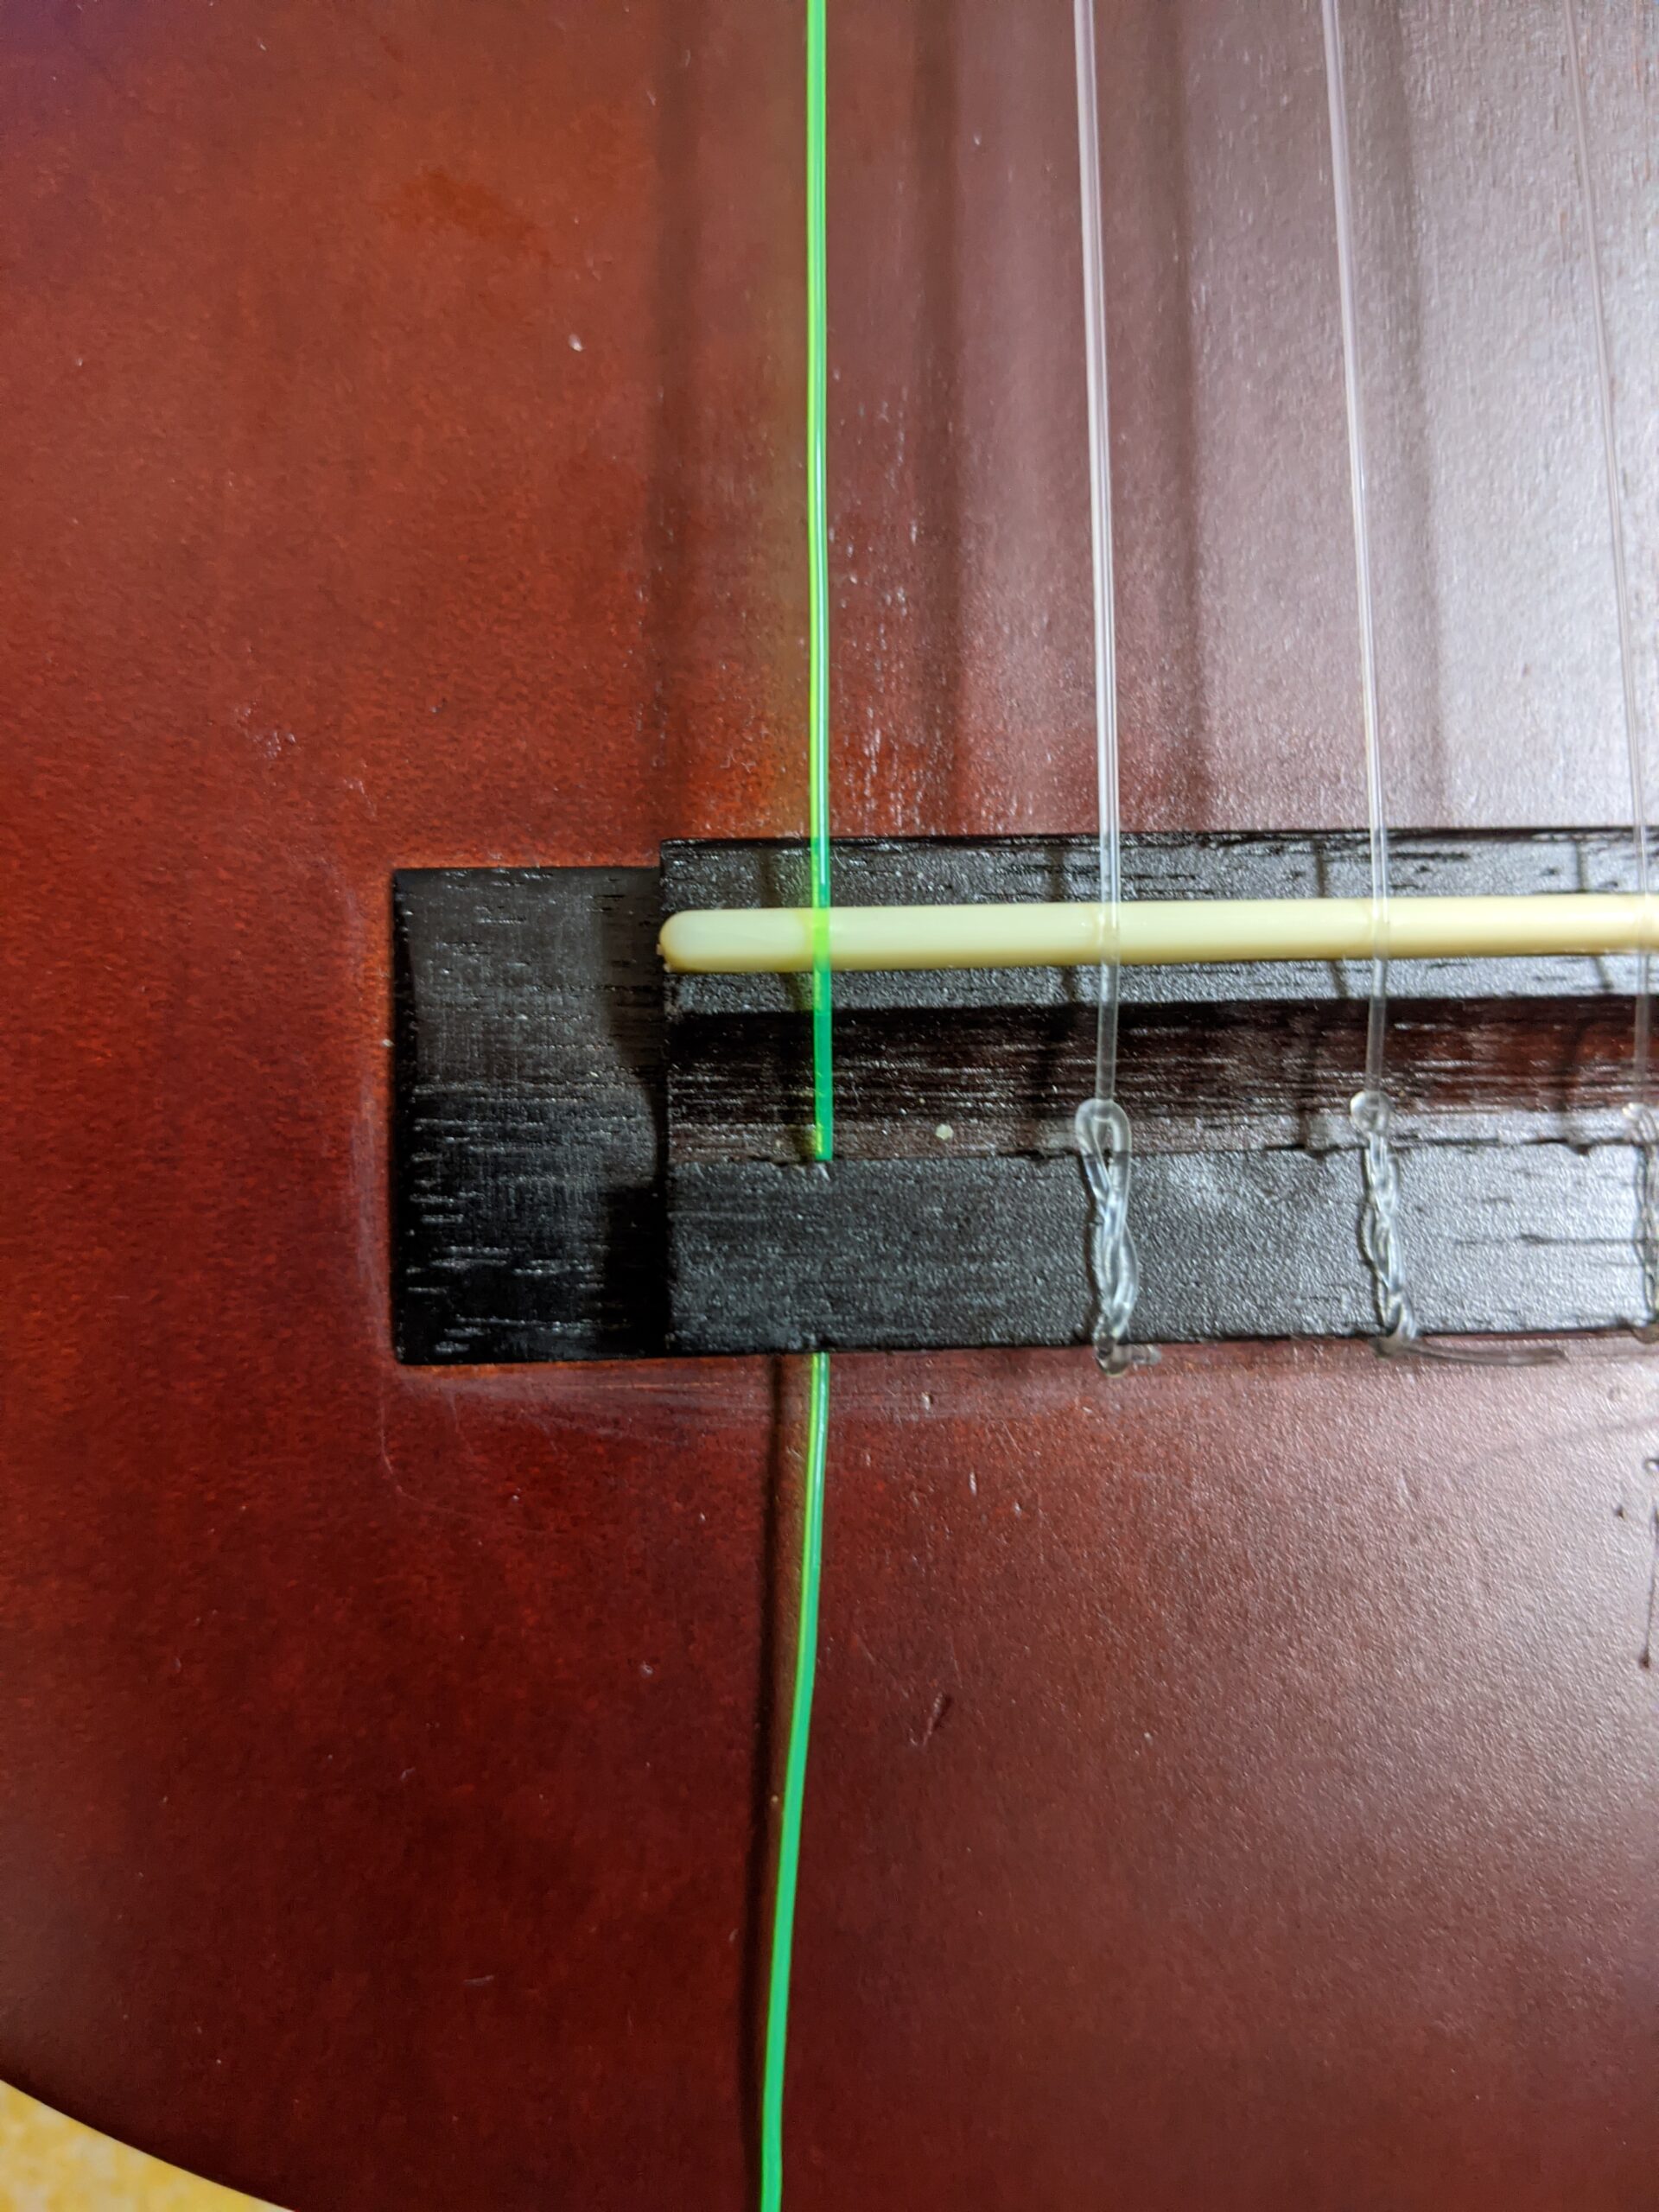
slotted bridge
technically all it needs to hold the string in place is a thick end – this could be some kind of bridge beads tied to the string end or simply a thicker knot. on most occasions i encountered a simple “figure 8” knot was enough; this knot is well known amongst sailors to prevent ropes from slipping through blocks and the like. it is easy to tie and gets pretty thick under load – just what we need.


for thick c-strings (and wound strings in general) a standard half hitch (aka overhand knot) could well be sufficient, esp when the figure 8 is too big to fit in the bridge cutout.


on the other hand sometimes it needs more (esp on thin a-strings): the figure-8 can be doubled up


and of course there are other options if you don’t want to go common mainstream: most suitable would probably be stevedore knot (ashley #456) or ashley stopper (aka oysterman’s stopper, ashley #526).


tie bridge (single hole)
as the name implies: strings are tied on these bridges. i’ve seen single and double hole versions and over time i came to ignore the second hole and stick with the single one. fixing a string here is even easier than on a slotted bridge as the “knot” pinches itself under tension: i know it as timber hitch or bowyer’s knot (ashley #1665). you pull the string through the bridge, once around the standing end (=the end going to the headstock) and 2-3 times around itself – wiggle it tight and you’re set. the string end should poke out on the side of the bridge so you can neatly tie one under another (if you like). in any case i recommend to make the ends point downwards, i.e. from g towards a – thus they won’t poke your strumming arm. of course you could as well tie the ends away inwards (g under c, c under e, e under c, a under e), but that’s more of advanced macramé style – or leave them all alone as on my makala in the pictures below.


in case you don’t trust your timber hitch or have a very thin and slippery string (e.g. fluorocarbon a-string) you might want to tie an extra figure 8 or half hitch to ultimately prevent the end from slipping – after all, the a-string end is probably not secured by another string.
tie bridge (double hole)
the technical advantage of a two-hole bridge is a steeper string angle on the bridge and thus a higher pressure and better transmission of string vibration to the soundboard. that is the technical explanation – whether you will really ever notice it on such a small instrument is another story. if you have two holes in your bridge use them, they are there for a reason.


for the two-hole tie bridges you could do the following: loop the string through both holes around the bridge, then loop the end underneath itself on the side of the bridge and let it pinch itself. add another knot at the end to ultimately prevent any slipping or secure the end under the next string – whatever floats your boat.


a slightly more secure variant uses an additional round through the bridge but is only possible if your bridge holes are big enough:


references
the “ashley book of knots” by clifford w. ashley (1881-1947) still appears to be the ultimate reference book when it comes to knots of all kinds.
if you need more knots for all purposes dive into the web, there’s plenty of information out there – i found animatedknots.com really useful and entertaining.
One thought on “knots and ties – how to prevent strings from slipping”